Care: Troubleshooting 3
Troubleshooting 3:My bag looks worn and the color is fading!
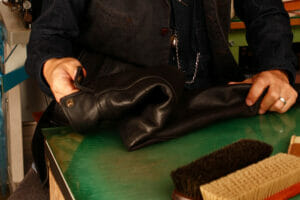
A women's bag that has been used for a long time and the leather on the handle and bottom is worn. Since the bag was originally finished with a dye with a natural uneven texture, the degree of deterioration is not too bad, but the peeling and scratches are still noticeable.
So this time we have decided to repair the bag by re-dyeing. But not a full-fledged dyeing that we soak the bag in dye, but a simpler one where you apply the dye using a cloth. Since the bag has a natural texture, you don't have to worry if the dyeing is a little uneven.
When the dye dries, fix it with a binder and apply an emulsifying cream to make up for the oil that has been removed after many years of use to give it a glossy finish.
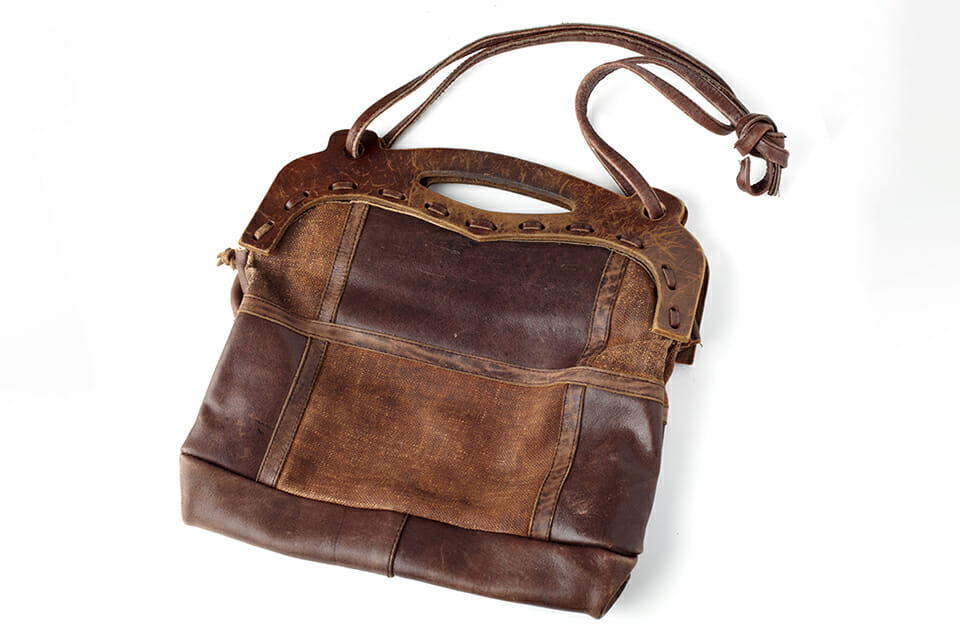
A very worn women's bag that combines leather and canvas. The color around the handle, which is always touched by the hand, and the bottom part, which rubs when the bag is placed, is faded, and there are countless scratches.

Step 1.
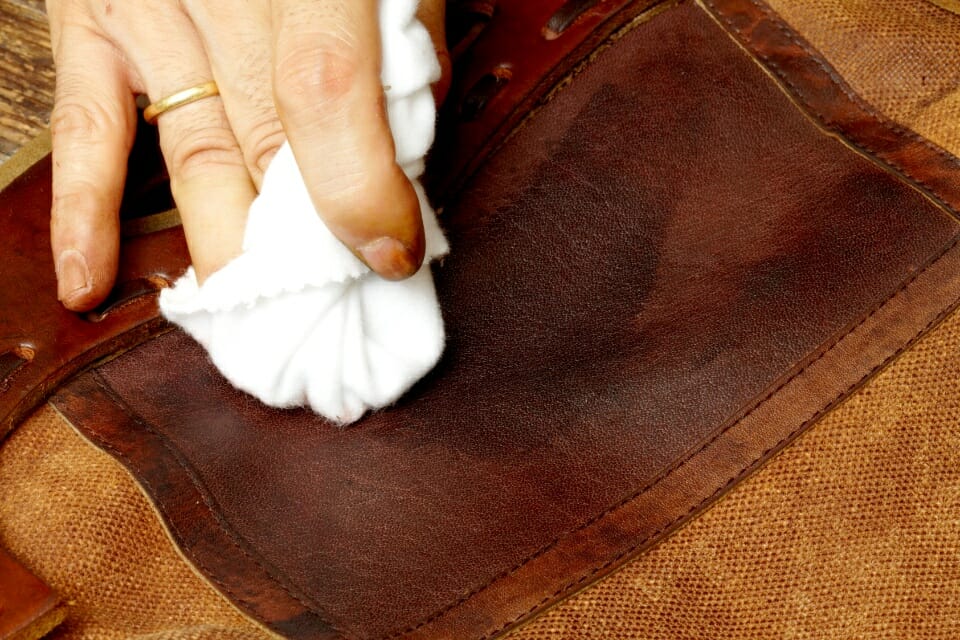
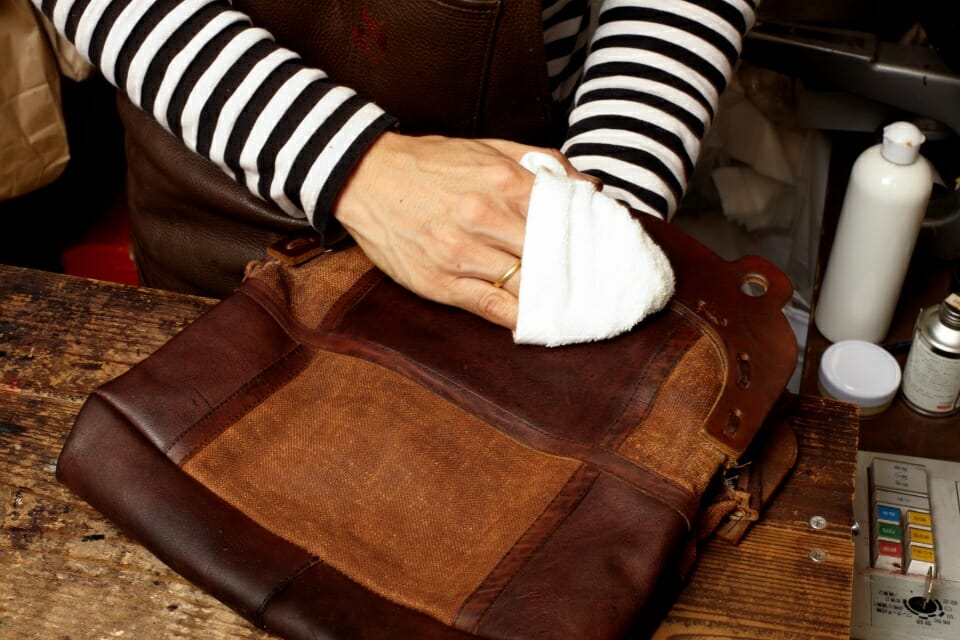
First, remove the dust on the surface of the bag. Basically, just wipe with a soft cloth. At the beginning of dyeing, apply an inconspicuous place to see if the color of the dye matches.
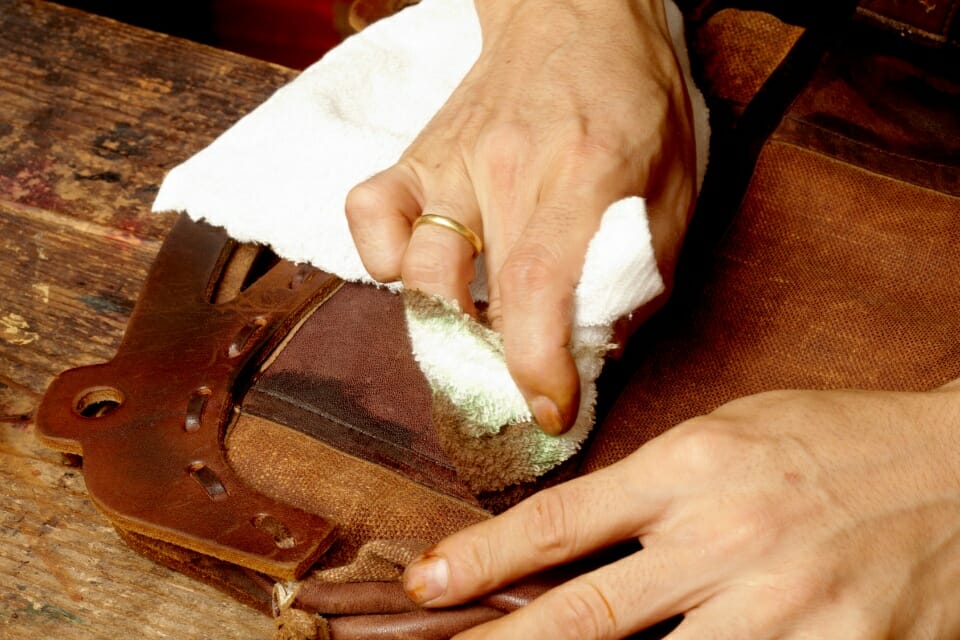
Step 2.
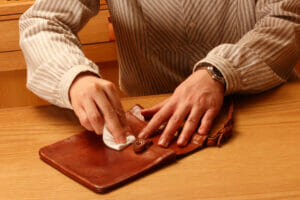
Dye is applied from the leather pad at the seams where the color is uneven. Apply the dye to the dyeing cloth little by little and push it in. Pay particular attention to the light-colored areas.
Step 3.
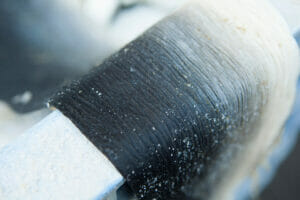
The bottom corner where the surface is damaged by constant rubbing. As soon as you put the dye on it, it will soak in immediately, so add plenty of dye. Before the dye dries, it looks darker than the finished product.
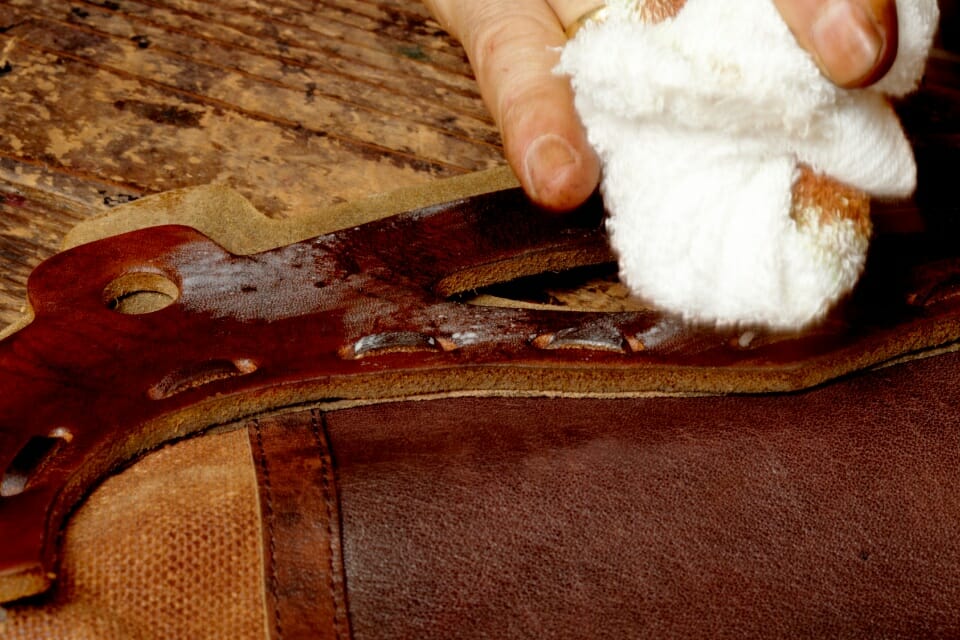
Step 4.
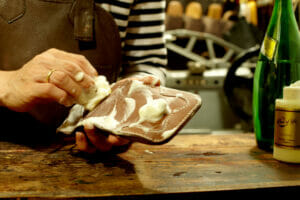
Apply the dye to small parts such as seams and edges. Apply a generous amount of dye to the cloth and tap.
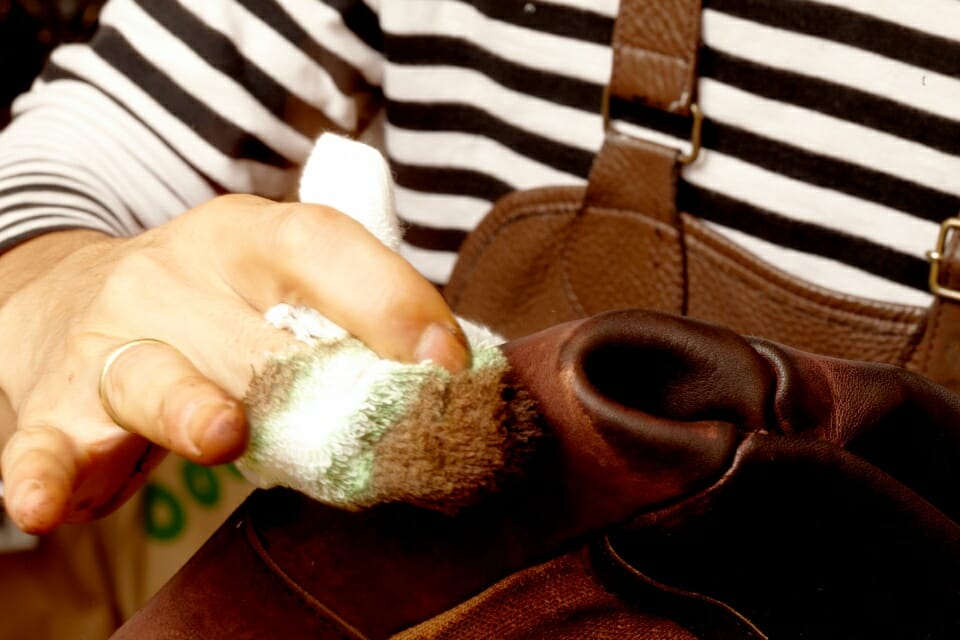
Step 5.
When dyeing a large area, use the pad of your finger to gently apply. This time, we will dye while keeping the original unevenness, so we will dye evenly while looking at the overall color tone.
Step 6.
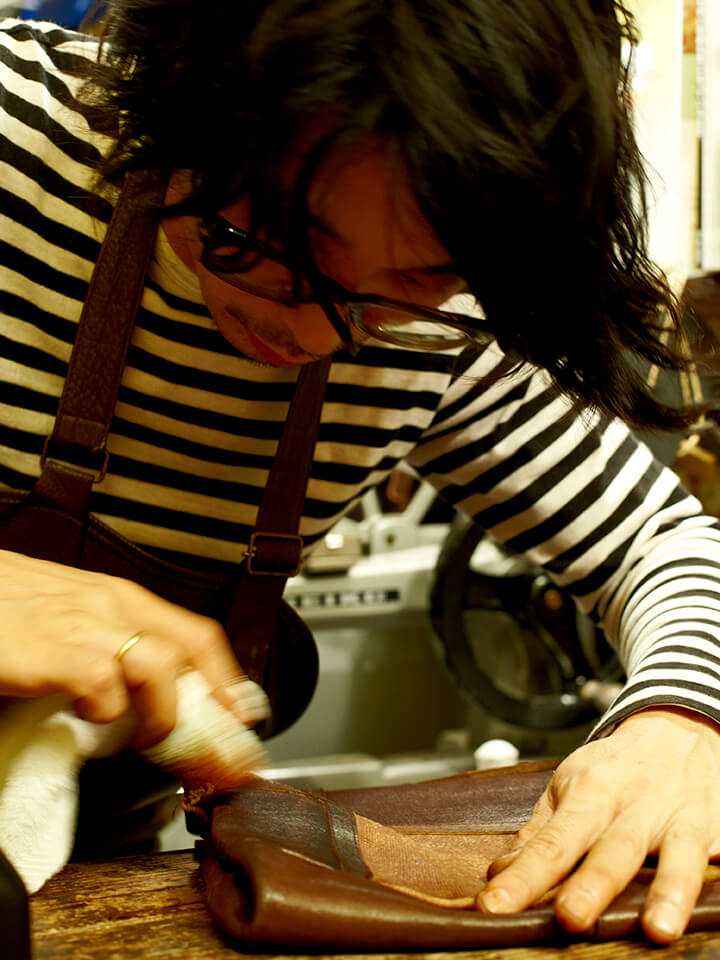
When the entire piece is dyed, wait for the dye to dry and stabilize the dye with a binder. After that, the leather is nourished with emulsifying cream, and the surface is polished with a clean cloth to make it glossy.
Step 7.
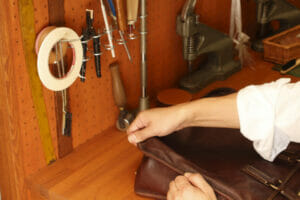
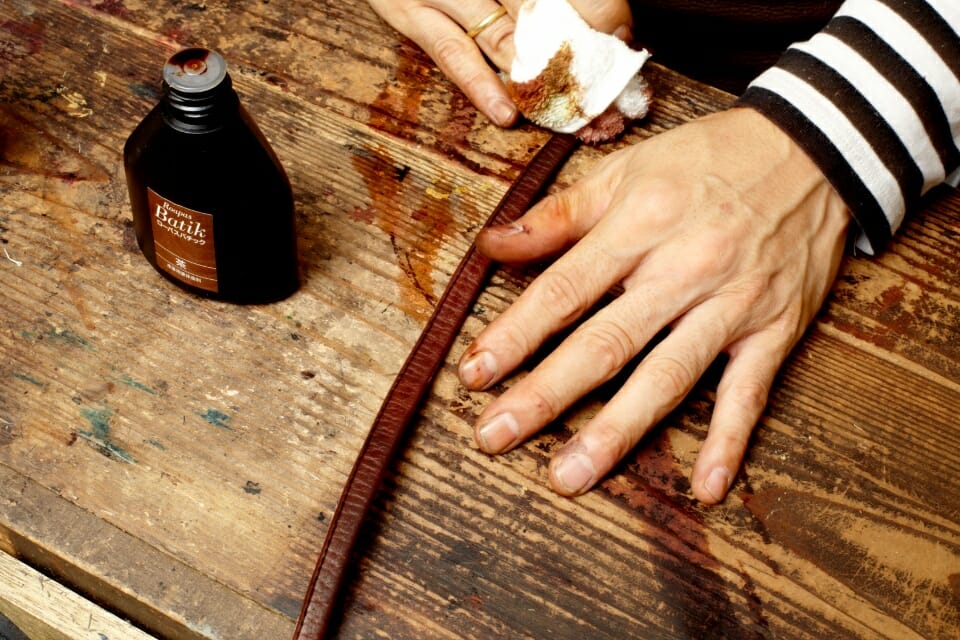
The shoulder strap of this bag is also made of leather. The strap is also worn and damaged, so make up for the color with dye. The damage is severe, so add plenty of dye.
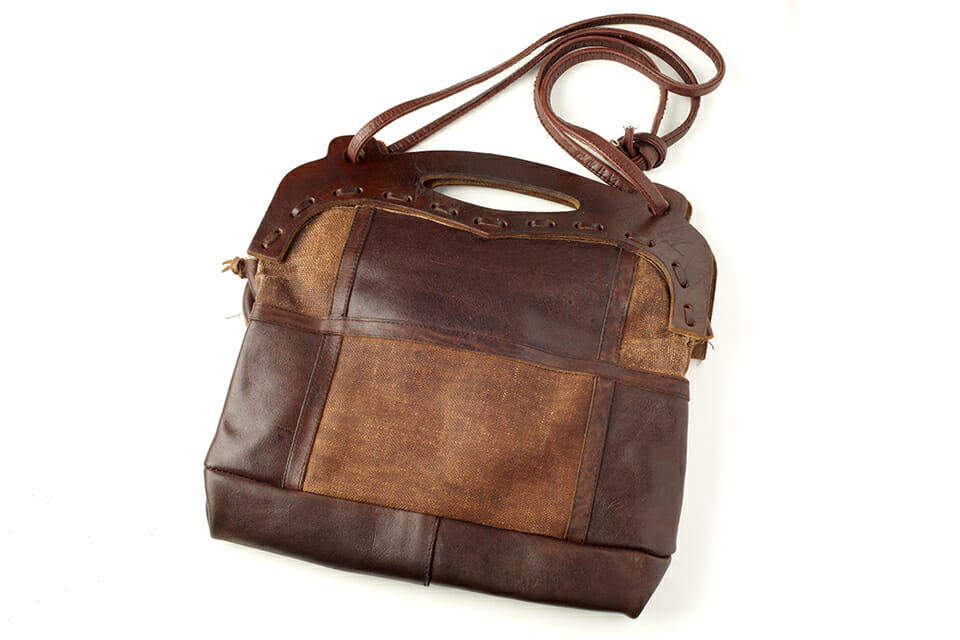
Step 8. Finished!
The part where the color was faded and scratches stood out, but by dyeing, it blended in with the surrounding areas and such peeling and scratches became less noticeable.
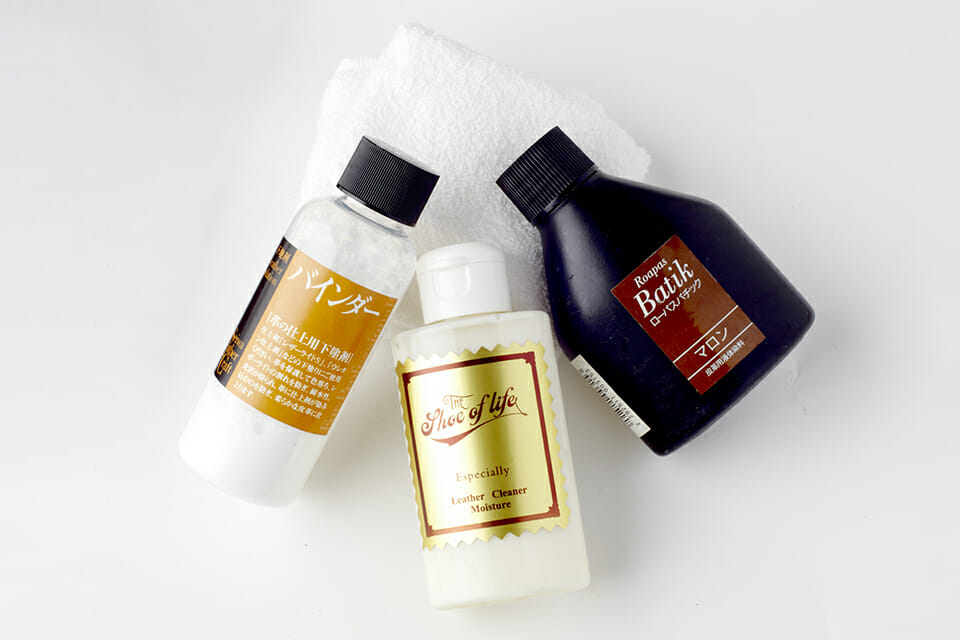
Care goods that are effective against discoloration
1. A liquid water-based leather dye that supplements the faded color. This time, we chose a slightly darker brown to match the color of the bag. Seiwa Roapas Batik Marron (¥ 315).
2. Emulsifying stain remover that removes dirt and oil that has soaked into leather. The Shoe of life Moisture Cream (¥ 1,260).
3. Finishing primer for fixing dyes. Seiwa Binder (¥ 262).
4. A cloth for applying dye. Soft towels and flannel are better
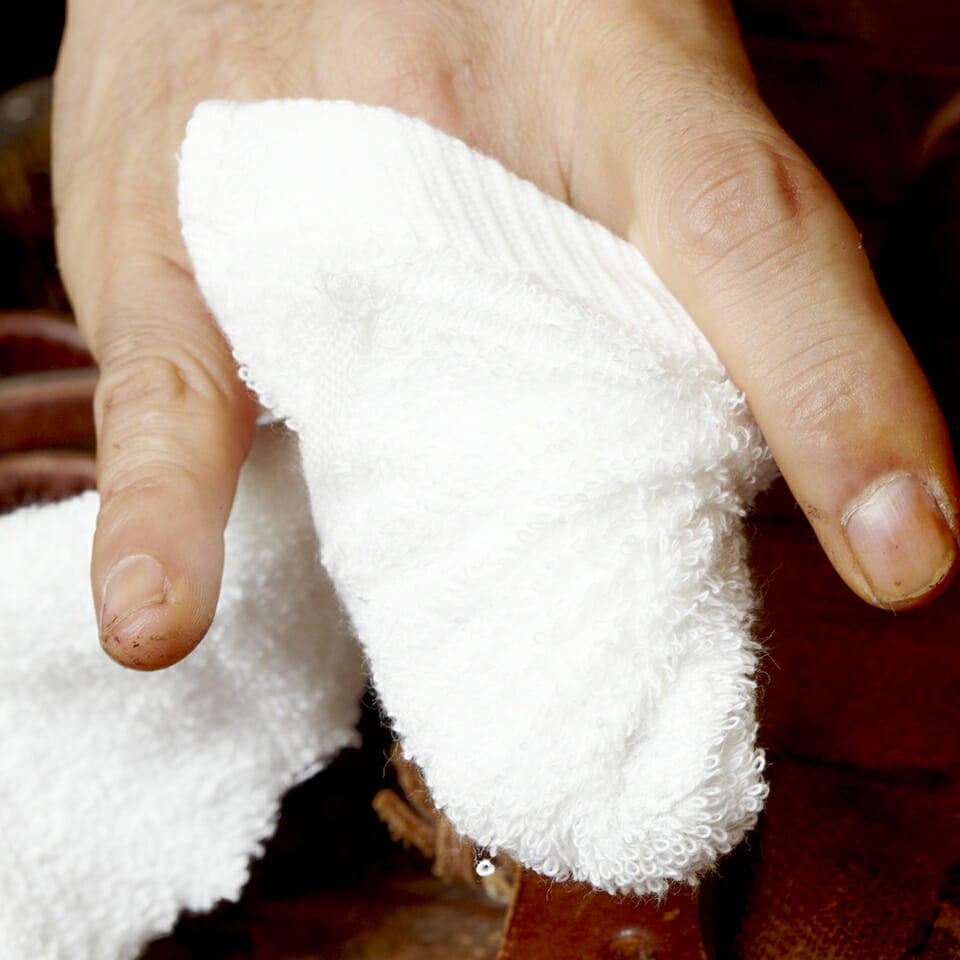
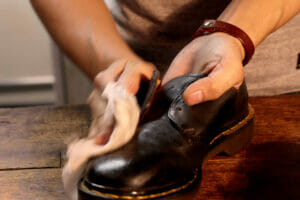
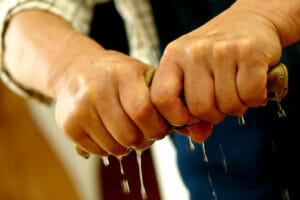
Use the middle finger and ring finger for just the right amount of pressure ◎
In the case of Mr. Kachigawa, he holds the towel around his middle finger and ring finger. Many people use their index finger, but oftentimes, too much force is applied. With the ring finger, it is difficult to apply too much force, which is good for delicate work. He uses these two fingers when polishing as well.